Travis-CI is an open source, free and hosted continuous integration service that could build and run the unit tests for you, on every commit to a GitHub repository. It supports projects in a multitude of languages. The service allows you to configure steps that would be run before, after and during the build and test process, with just one YAMLfile (named .travis.yml) in the root of your repo. Apart from running the many unit tests in the project and letting you know how your latest check-in affected the health of the project, the Travis-CI service could also do custom build tasks like a post-build deployment. Testing your open source project is free. To integrate Travis Ci in a private project we have to purchase suitable plan .
Features created to help projects and teams
Features created to help projects and teams
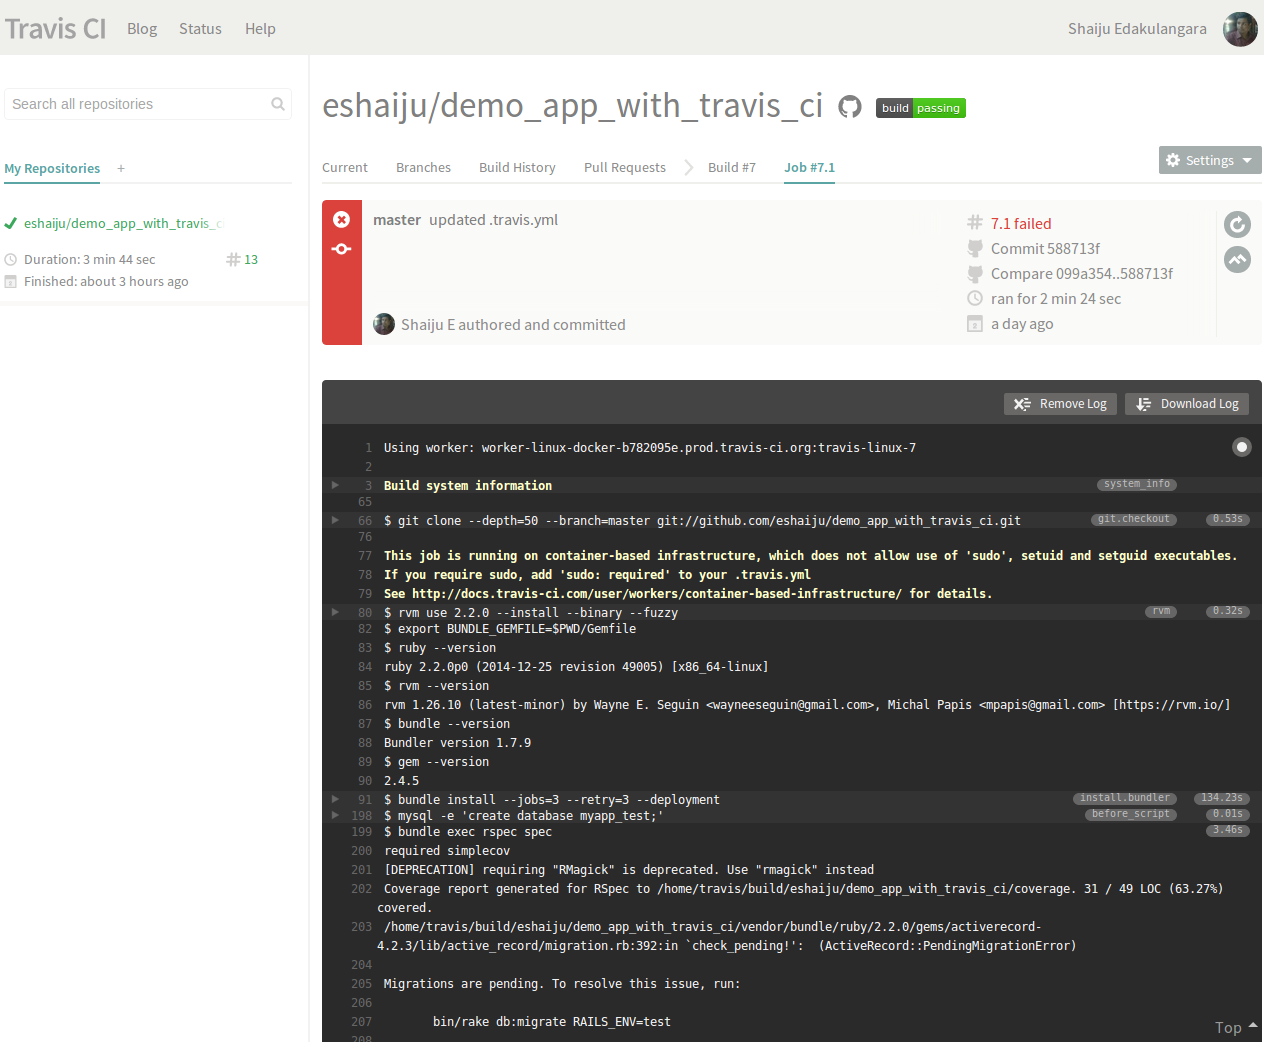
- Watch your tests as they run
- Keep your config with your code
- Slack, HipChat, Emails and more
- A clean VM for every build
- Run your tests in parallel
- Linux and Mac (and iOS) supported
- Great API and command line tool
- Sign into Travis CI with your GitHub account, accepting the GitHub access permissions confirmation.
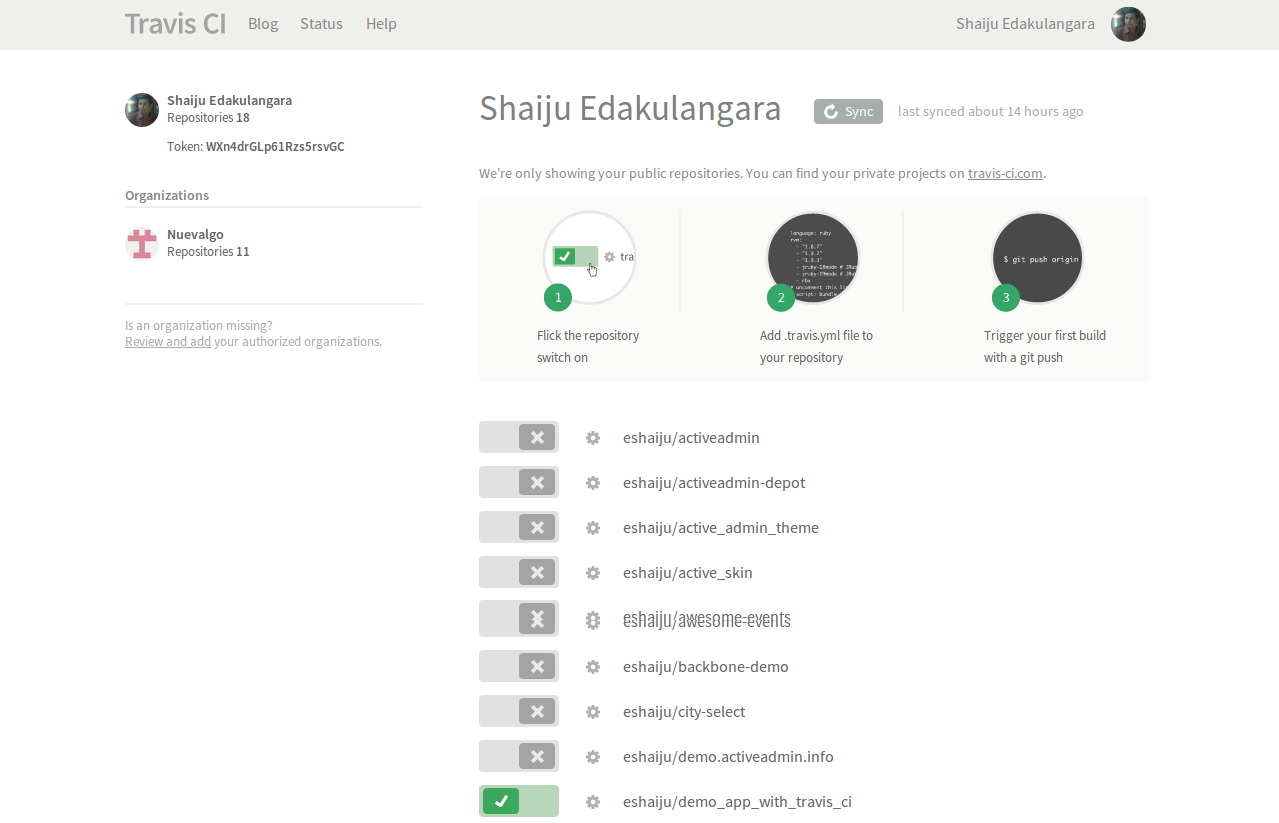
- Once you’re signed in, and Travis synchronized your repositories from GitHub, go to your profile page and enable Travis CI builds for your repository. (Note: You can only enable Travis CI builds for repositories you have admin access to.)
- Add .travis.yml to your project’s root folder
- Add settings to .travis.yml
- Setup Database MySQL on Travis CI is started on boot, binds to 127.0.0.1 and requires authentication. You can connect using the username “travis” or “root” and a blank password. Note that the “travis” user does not have full MySQL privileges that the “root” user does. config/database.yml example for Ruby projects using ActiveRecord:
- Commit this to GitHub (Note: Travis only runs a build on the commits you push after adding the repository to Travis.)
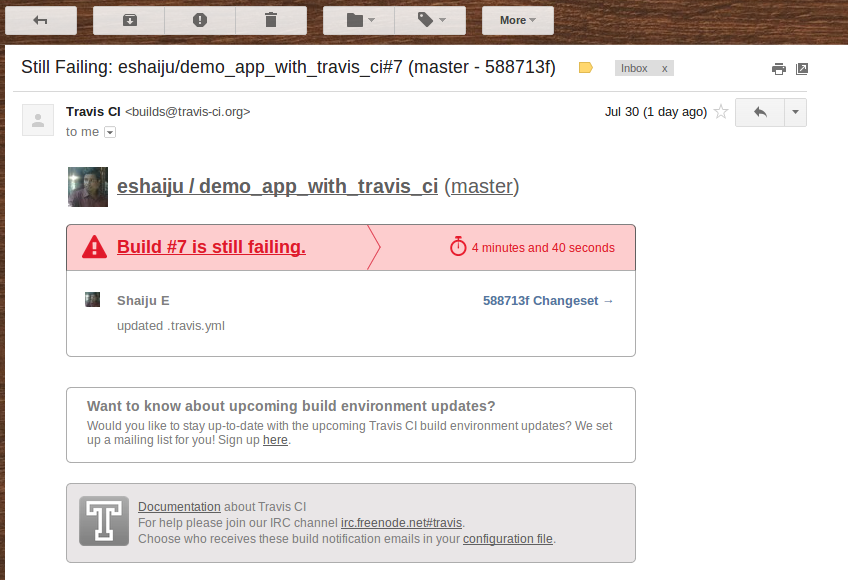
- Wait for Travis CI to run a build on your repository, check the build status. (Travis CI sends you an email when build fails)
1 2 3 4 5 6 7 8 9 10 11 12 | |
1 2 3 4 5 | |